Table of Contents
ToggleA concept board is the difference between a room that feels like a Pinterest screenshot and one that actually works. It’s the designer’s sandbox, a single visual tool that distills ideas, tests combinations, and keeps a project on track before the first dollar gets spent. For anyone planning a renovation, redesign, or even a single-room refresh, a concept board acts as both a roadmap and a reality check. It shows what works together, what doesn’t, and where the budget should go. Whether tackling a kitchen remodel or just rethinking a living room, the concept board keeps decisions intentional instead of impulsive.
Key Takeaways
- A concept board in interior design is a visual tool that prevents costly material mismatches by testing color, texture, and material combinations before making expensive purchases.
- Include essential elements such as paint chips, fabric swatches, flooring samples, furniture references, and lighting fixtures to create a cohesive design palette that guides your project.
- Creating a concept board requires starting with fixed elements like flooring and countertops, then layering in colors and accents while editing ruthlessly to avoid a cluttered design.
- Both physical and digital concept boards serve the same purpose, but digital boards offer flexibility for sharing with contractors and updating designs, while physical boards provide accurate material preview under real lighting.
- A concept board acts as a clear visual reference for clients, contractors, and DIYers, reducing assumptions and ensuring everyone involved in the project shares the same design intent.
What Is a Concept Board in Interior Design?
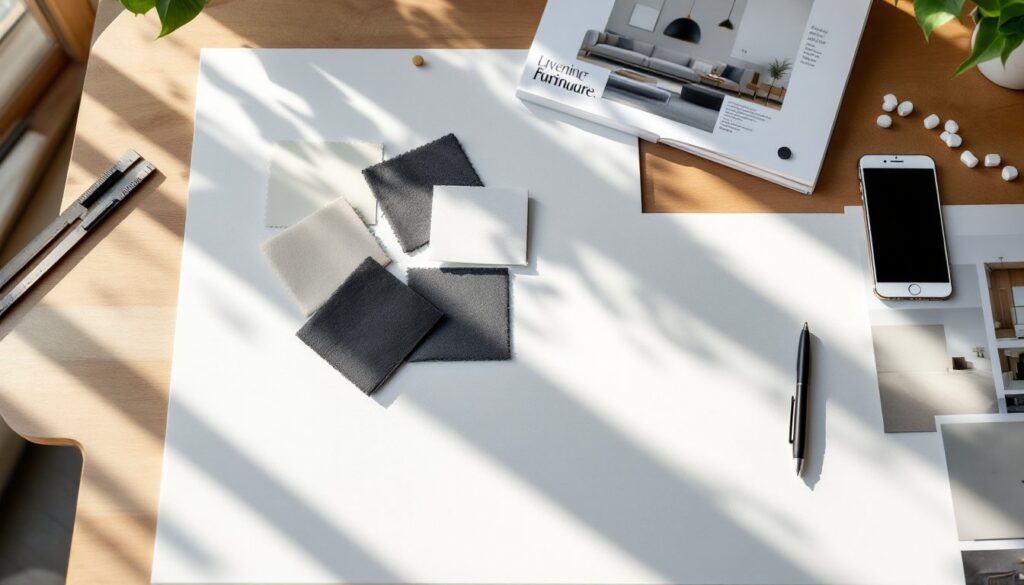
A concept board (also called a mood board or design board) is a curated visual collection that communicates the direction, mood, and material palette of an interior design project. It typically includes paint chips, fabric swatches, flooring samples, furniture references, lighting fixtures, and inspirational imagery, all arranged on a single board or digital canvas.
Unlike a finished floor plan or elevation drawing, the concept board focuses on feel and cohesion. It answers questions like: Does this wood tone clash with the tile? Will the sofa fabric hold up with kids and pets? Does the lighting temperature match the intended vibe?
Professional designers use concept boards to align with clients before ordering materials or scheduling contractors. DIYers use them to avoid expensive mistakes, like buying a rug that looked great online but clashes with everything in person. The board doesn’t dictate every detail, but it establishes a visual language that guides decisions throughout the project.
Concept boards can be physical (foam core, corkboard, or poster board with actual samples pinned or glued) or digital (created in tools like Canva, Milanote, or Adobe InDesign). Both formats serve the same purpose: clarity and commitment before execution.
Why Concept Boards Are Essential for Your Design Process
Skipping the concept board stage is like framing a wall without measuring, it might work, but the odds aren’t good. Here’s why this step matters.
It prevents costly mismatches. Paint, tile, and fabric all look different under various lighting conditions and next to other materials. A concept board lets the designer (or homeowner) test combinations in one place before committing to a 50-square-foot tile order or a custom sofa.
It speeds up decision-making. When everything lives on one board, it’s easier to spot what’s missing or what doesn’t belong. Instead of second-guessing paint colors for weeks, the board shows whether the choice supports the overall vision.
It keeps the project cohesive. Rooms don’t exist in isolation. A concept board ensures the entry, living room, and kitchen share a visual thread, whether that’s a consistent wood tone, a complementary color story, or a repeated texture like linen or matte metal.
It communicates intent to contractors and tradespeople. If hiring out work, the concept board gives painters, tile setters, and electricians a clear visual reference. It reduces the risk of someone making an assumption that doesn’t align with the design.
For DIYers managing their own projects, the concept board also serves as a gut check. If something feels off on the board, it’ll feel worse at full scale.
Key Elements to Include in Your Interior Design Concept Board
A strong concept board doesn’t need everything, but it does need the right things. The goal is to show how the major design elements interact without overloading the viewer.
Color Palette and Material Samples
Start with paint colors. Include actual paint chips or samples, not just screenshots from a website. Paint shifts dramatically depending on sheen (flat, eggshell, satin, semi-gloss) and lighting (north-facing rooms skew cool: south-facing lean warm). If painting trim, cabinetry, or an accent wall, include those chips too.
Add flooring samples, whether hardwood, LVP (luxury vinyl plank), tile, or carpet. Flooring anchors the room and influences everything else. A 4×4-inch sample is enough to show grain, color, and finish.
Include fabric swatches for upholstery, drapery, or bedding. Texture matters as much as color. A charcoal linen reads differently than charcoal velvet. If the project involves a rug, include a photo or swatch.
Countertop and backsplash samples belong here if the project touches a kitchen or bath. Quartz, granite, marble, and tile all behave differently with staining, heat, and maintenance, note that on the board if it affects material choice.
Finally, show hardware and fixture finishes: brushed nickel, matte black, brass, chrome. These small details tie a design together or break it. Mixing metals can work, but it needs intention.
Furniture, Fixtures, and Inspiration Images
Include furniture references, either product photos or tear sheets showing style, scale, and upholstery. The board doesn’t need to show every piece, but it should represent the primary seating, tables, and storage.
Add lighting fixtures: pendants, sconces, chandeliers, or recessed cans. Lighting affects both function and mood. A warm 2700K LED creates a different feel than a bright 4000K fixture, and the board should reflect that.
Include a few inspiration images, rooms or details that capture the intended vibe. Keep these minimal (two to four images max). They’re not the design: they support it.
If the project involves tile patterns, trim profiles, or architectural details (like shiplap, wainscoting, or coffered ceilings), add a reference image or sketch. It clarifies what “modern farmhouse” or “coastal traditional” actually means.
How to Create a Compelling Concept Board Step-by-Step
Creating a concept board isn’t complicated, but it does require discipline. Here’s the process.
1. Define the project scope and style direction.
Before gathering materials, clarify what the project includes. A full kitchen remodel needs more detail than a bedroom refresh. Settle on a rough style direction, mid-century modern, industrial, transitional, Scandinavian, but stay flexible.
2. Gather physical samples or high-res digital images.
Order paint chips from the hardware store. Request tile samples from suppliers (many offer small samples for a few dollars). Screenshot furniture and fixtures, or print product pages. If going physical, collect everything in one spot.
3. Choose a base, physical or digital.
For a physical board, use a 20×30-inch foam core board or corkboard. Arrange samples with pushpins, double-sided tape, or glue dots. Leave space to shift things around.
For a digital board, use Canva (free templates available), Milanote, or Pinterest’s collage tools. Keep the resolution high enough to see texture and detail.
4. Start with the largest or most fixed elements.
Lay down flooring, countertops, or large furniture first. These are typically the most expensive or least flexible pieces. Build the palette around them.
5. Layer in color, texture, and accent pieces.
Add paint chips next to flooring. Place fabric swatches near furniture images. Test light fixtures against wall colors. If something feels off, a color that’s too bold, a wood tone that clashes, swap it out.
6. Edit ruthlessly.
A concept board should feel cohesive, not crowded. Remove anything that doesn’t pull its weight. If a throw pillow pattern competes with the rug, pick one. If two metal finishes look too similar, commit to one.
7. Label everything.
Write down paint names and numbers (e.g., Benjamin Moore Hale Navy HC-154), product names, suppliers, and finishes. This becomes the shopping and reference list during installation.
8. Live with it for a few days.
Tack the board up in the room being designed, if possible. Check it in morning light and evening light. If something nags, trust that instinct.
Digital vs. Physical Concept Boards: Choosing the Right Format
Both formats work. The right choice depends on the project, the audience, and personal preference.
Physical boards shine when working with actual materials. Seeing a fabric swatch next to a paint chip under the room’s real lighting beats any screen. They’re ideal for clients or family members who aren’t digitally fluent, and they’re easy to prop up on a mantel or pin to a wall for ongoing reference. The downside: they’re harder to update, can’t be emailed, and require space to store.
Digital boards offer speed and flexibility. They’re easy to share with contractors, designers, or an out-of-state partner. Tools like Canva and Milanote allow quick swaps, if a sofa goes out of stock, drag in a replacement in seconds. Digital boards also travel well: pull them up on a phone while shopping at the tile showroom. The trade-off: screens don’t show texture, sheen, or true color. A matte black faucet photograph can’t convey the tactile difference between powder coat and PVD finish.
Hybrid approach: Many designers create a digital board for speed and communication, then order physical samples of finalized materials to confirm in person before purchasing.
For DIYers managing their own projects with multiple decision-makers (a spouse, a designer friend, or a contractor), digital boards make collaboration easier. For solo renovators focused on a single room, a physical board offers the most accurate material preview.
Either way, the concept board is a tool, not a decoration. It exists to make better decisions, faster, with fewer regrets. If it’s not serving that purpose, simplify it until it does.